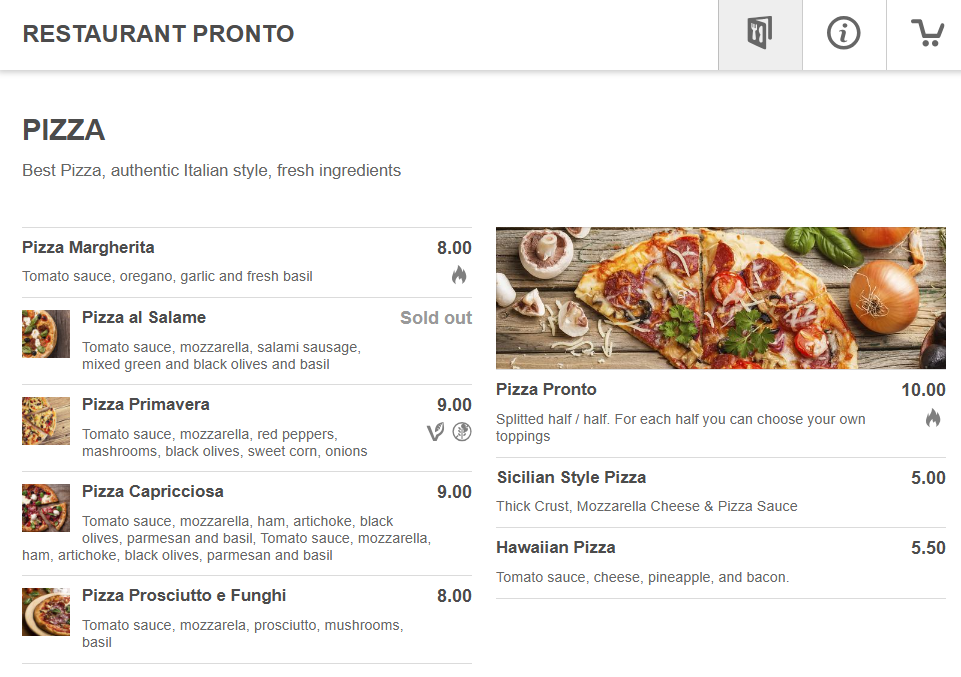
- 1.Why restaurant food photography is important
- 2.DIY or hire a professional photographer?
- 3.10 Restaurant food photography tips
- Only use the best-looking ingredients
- Use natural sunlight
- Wear a white t-shirt
- Don’t use flash
- Use a neutral background
- Don’t be afraid to zoom in and highlight dimensions
- Choose the right angle for the dish
- Use complementary colors
- Don’t overcrowd the composition
- Edit for consistency
- 4.Final words
Your restaurant’s success is directly dependent on the first impression you make. And what is the first thing clients see regarding your business? The photos from your menu! If the pictures accurately depict how delicious your food is, you will win over potential customers.
Therefore, you must make it a priority to have food images that will trigger your customers’ hunger. No matter your artistry skills or equipment, in this article you will find 10 restaurant food photography tips that will make clients instantly crave your dishes.
Why restaurant food photography is important
We’re not only eating with our mouths; we’re also eating with our eyes.
You see, your eyes are the first thing that comes into contact with food (or images of food). According to researchers at the Max Planck Society for the Advancement of Science:
“the mere sight of food stimulates your appetite”
Here are the benefits of investing time and money to professionally photograph your menu items:
- Attract more customers: ensure your restaurant makes a profit by using photographs that put your food in the best light;
- Persuade people to buy more food: pictures can often be so irresistible that customers will be persuaded to order more than they intended;
- Increase restaurant reputation: blurry images and pictures that don’t highlight your food will make your restaurant seem low quality and untrustworthy. Instead, good images show that you put effort into your food and customers will trust that your dishes taste as good as your pictures look;
- Make marketing a breeze: to promote your food business on social media, you need to have mouth-watering pictures that users won’t be able to resist. If you already have great images of your menu, your work is almost done, you only need to use a persuasive caption alongside it.
DIY or hire a professional photographer?
As you now know restaurant food photography is a must, you have to decide how you will go about getting the images. You have two options:
- Hiring a professional photographer
- Taking the photographs yourself, with the help of your team
If you choose to hire a photographer, you will enjoy the following benefits:
- Utility: He’ll be using the art of food photography to make your foods look so good, and appealing to your clients. People will choose to order even the most expensive dishes just because of the pictures.
- Maximum impact with a minimum of effort: You’ll be able to maximize your profits and post those unique and stunning pictures on all of your social media accounts, for all of your clients to see.
- A lot of gain with no pain: That will get you out of the hellish nightmare of having to find the ideal settings for shooting your menu photos, like the best ISO (sensitivity to light) feature.
- Feasibility and low cost in the long run: You’ll only be paying for the professional photo shoot once.
However, if you choose to do it yourself:
- Lower to zero costs: you can also learn how to take good food pictures and edit photos, so they look irresistible. And you can do so with a good phone, no need to invest in an expensive camera;
- Complete control over the process: you get to choose when, where, and how you photograph the images. As you are the restaurant owner and know each dish by heart, you know how to make it shine;
- Gain knowledge to use for future photographs: if you learn these restaurant food photography tips, you will be able to use them whenever you launch a new menu item or even to showcase your restaurant’s interior;
10 Restaurant food photography tips
You’re about to discover how to take some great DIY restaurant food photography tips and tricks that will make your menu more appealing and push your customers to order more food.
And you won’t even need to use sophisticated equipment. You’ll learn what food photography tricks to use and how to take good food photos with your iPhone (that’s right!).
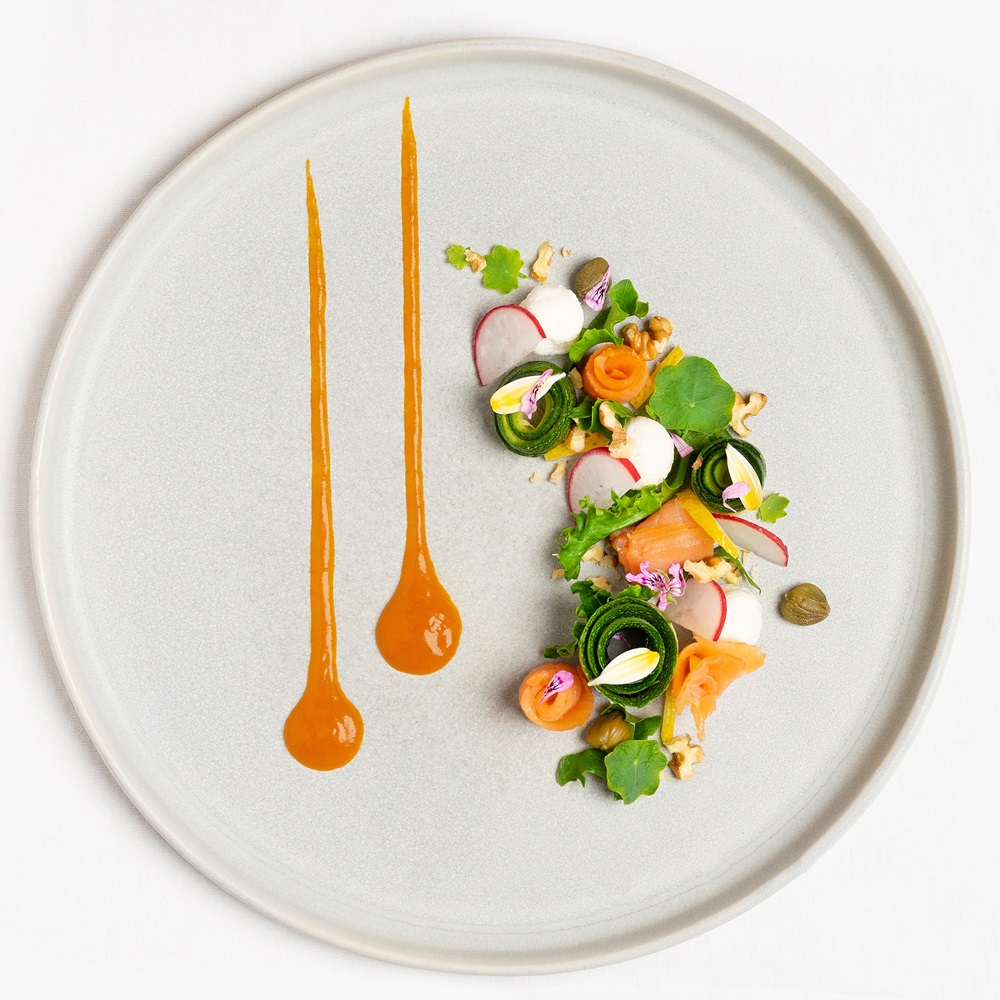
1. Only use the best-looking ingredients
It might seem like an understatement, but when it comes down to the art of food photography, the devil is in the details. That’s a fact. When food stylists have to take a picture of a burger, they spend a lot of time searching through dozens or hundreds of buns, looking for that one perfect bun.
For instance, they chose a fluffy, full, and pumped-up bun with sesame seeds spread equally, instead of using one that was clearly at the bottom of the pile, all seedless and trampled. Sorry bottom buns, but in food photography appearance is everything.
So search for ripe and vividly colored fruits, for instance, if you’re trying to take a picture of your famous apple tart or your delicious Caesar salad.
2. Use natural sunlight
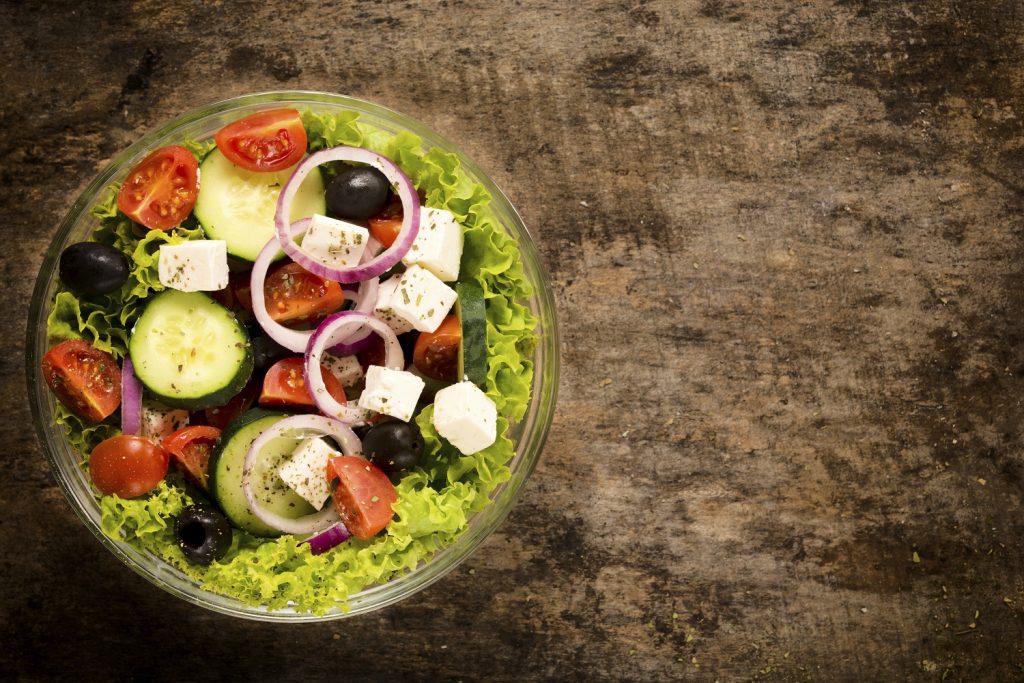
Make sure that you’re shooting all of your dishes next to the window. According to Shaw Academy:
“Lighting is a key factor in creating a successful image. It determines not only brightness and darkness but also tone, mood, and atmosphere.
Lighting can be the difference between a breathtaking photo and a poor one.”
That’s why you’re always seeing reflectors used by all photographers during their photoshoots. So shoot in good light to achieve the best possible results.
Tip: Try shooting your food photos when it’s cloudy because clouds help create a soft light with more subtle shadows.
3. Wear a white t-shirt
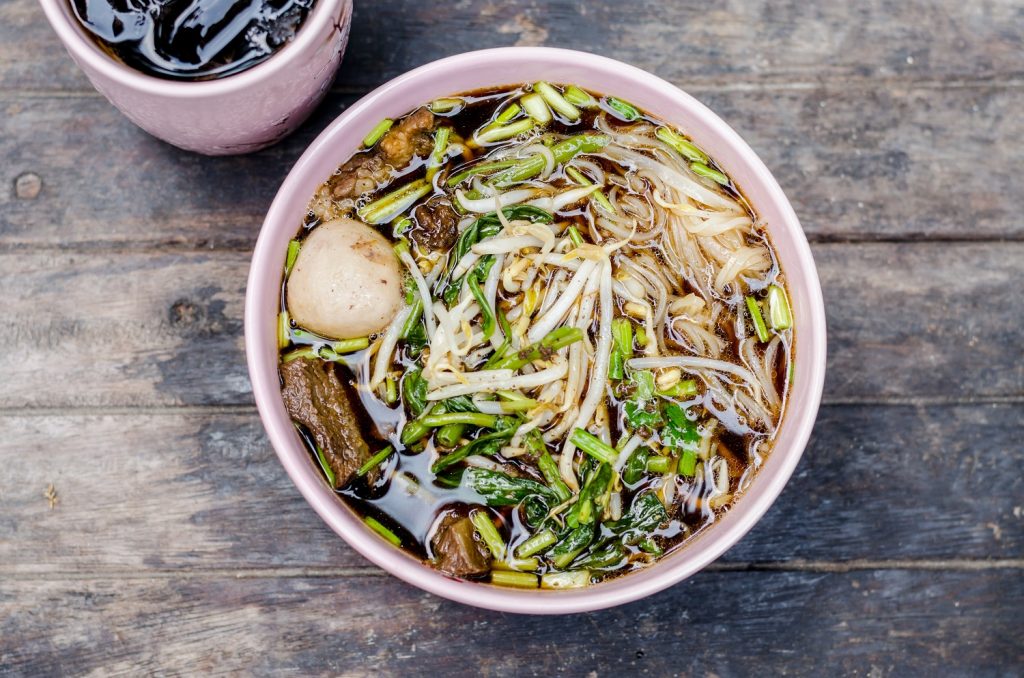
I can see why this might confuse you. However, this is one of those food photography techniques that is quite interesting: you can use the T-shirt you wear as a reflector.
This is a great photography tool that helps redirect the existing light to your plate of food; so the light that gets projected from your t-shirt onto your food plate is nice and soft.
Alternatively, you can also create a makeshift diffuser with a simple whiteboard. Place it opposite your source of light (the window) and play around with the exact position until you achieve the desired lighting.
4. Don’t use flash
Whatever you do, don’t use flash. Since you’ll already be shooting at close range, turning on your flash won’t do anything to help you create some food photography masterpieces.
Flash creates hard shadows that highlight the small imperfections, so you must steer clear of it.
5. Use a neutral background
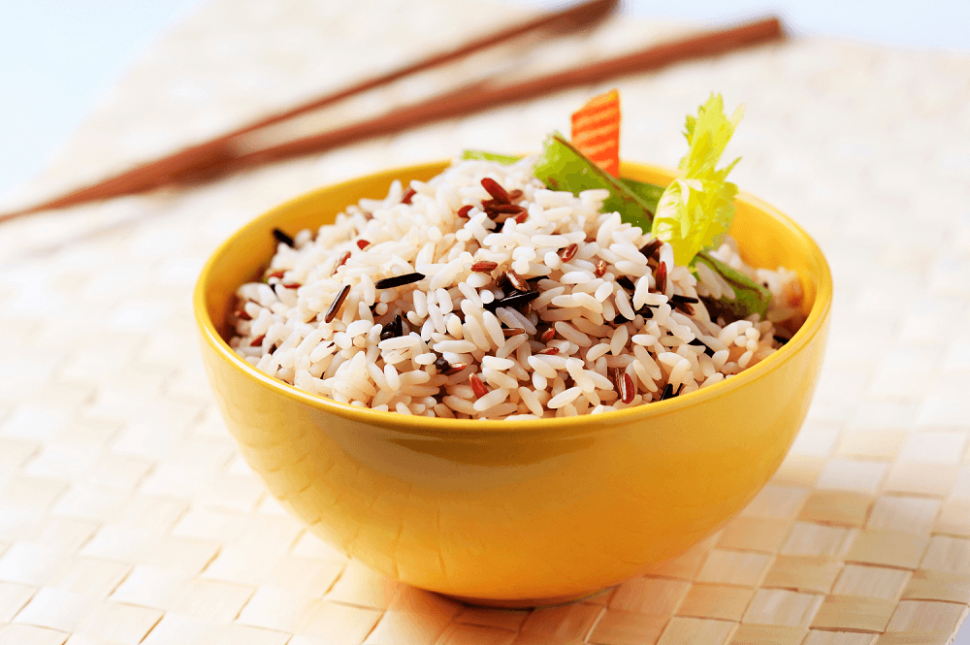
The purpose of using a neutral background is that it can highlight the vivid colors of your food plate. Choosing to use a cluttered and very colored background will actually steal the focus from your food and will make it seem bland and tasteless.
If it turns out that you need to embellish the background a little, you can always use Lightroom food presets free collections.
So with that being said, you should use one of the following types of backgrounds:
- Light
- Dark
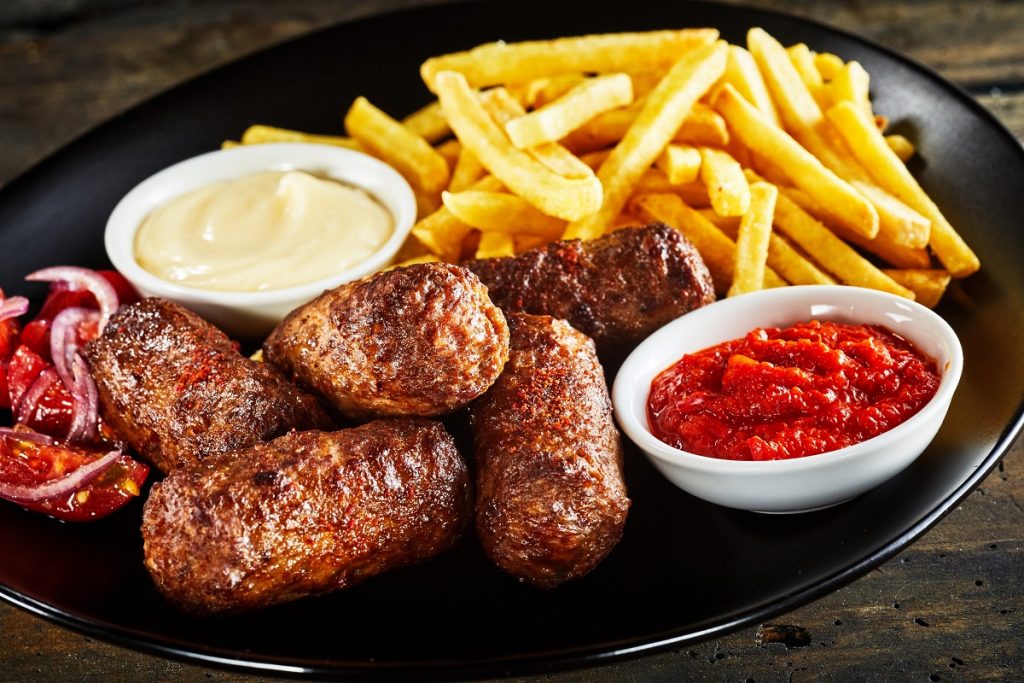
- & Wooden
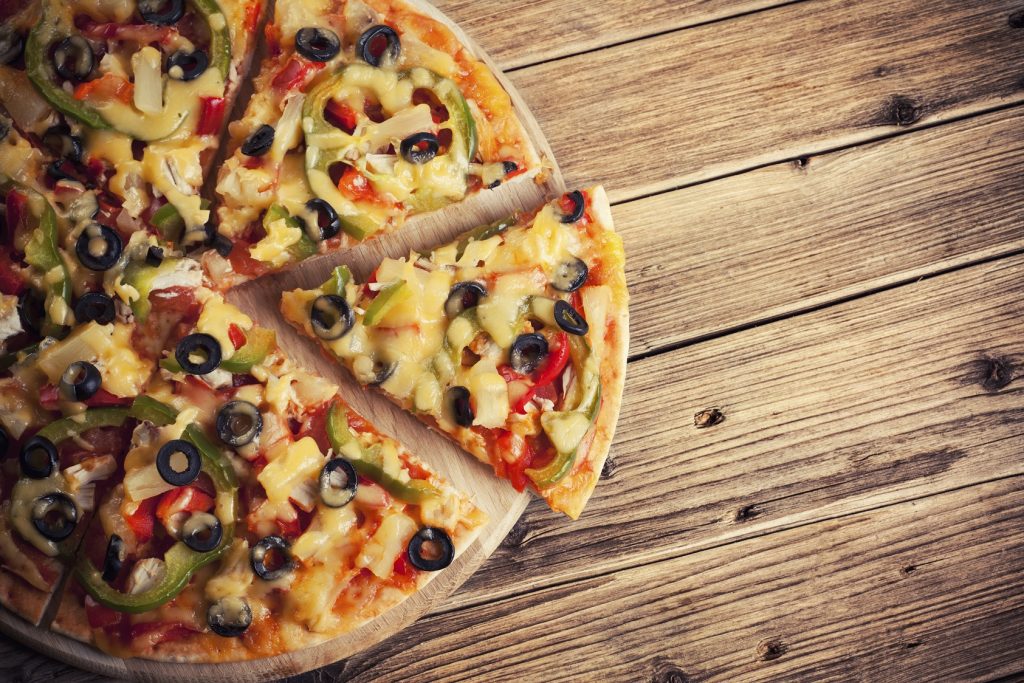 As a rule of thumb, dark backgrounds are a great match for dark foods, whereas light backgrounds best emphasize light-colored foods. Wooden backgrounds (like tables or chopping boards) work great with any type of food.
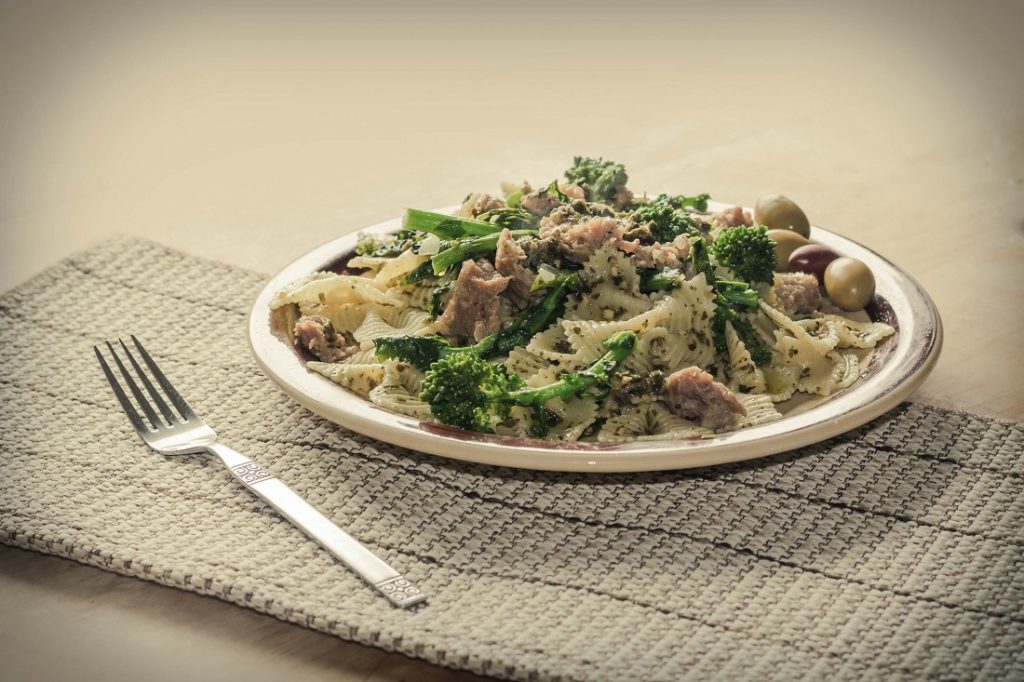
Other backgrounds ideas you can use:
- Newspapers
- Carpet or rug
- Black chalkboard
- Tiles
- Parchment paper
- A baking tray
- Tea towels and tablecloths with different patterns (floral, geometric, etc.)
6. Don’t be afraid to zoom in and highlight dimensions
A simple rule in food photography is that at times, there is simply no point in trying to show too many elements in a particular image. For example, don’t do your best to include cutlery or glasses, if they don’t add value to your picture.
Let’s take a look at the image below:
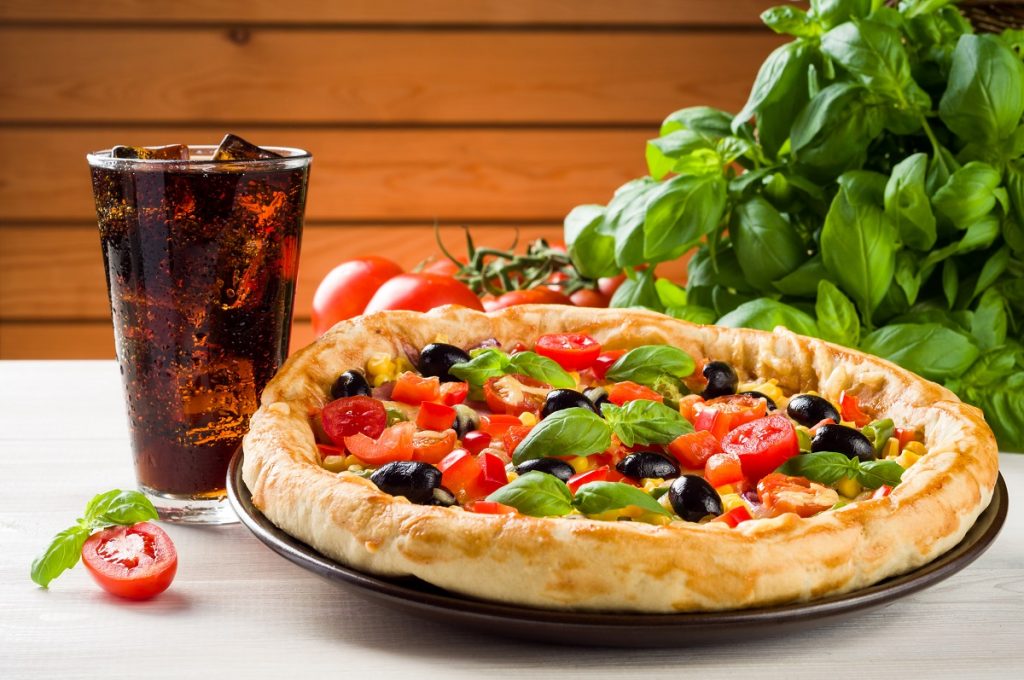 That’s a great image for emphasizing a combo of pizza and coke for one. However, there’s no point in actually using this image if you’re not giving that cola for free to them, or using it to highlight a combo promotion.
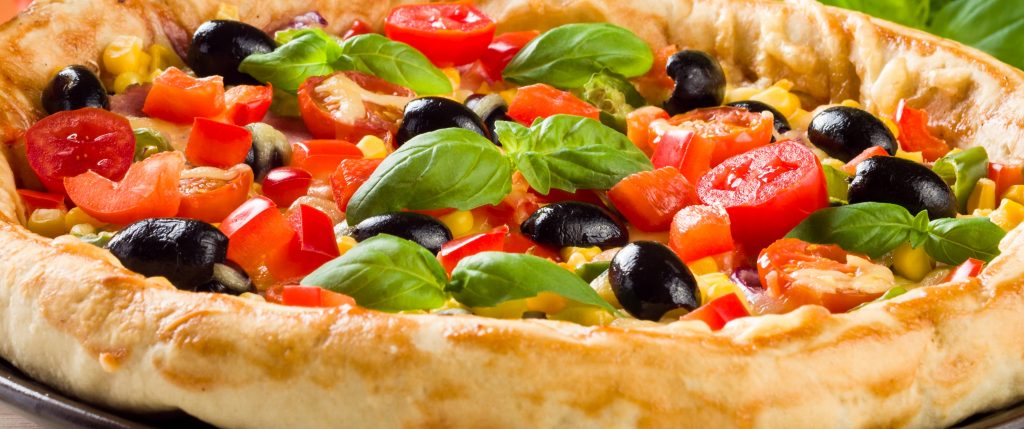
You can just highlight a part of it and use it as a great picture for a vegetarian pizza, like in the example below:
 Related: Menu Engineering Trilogy (Part 1): Secret Menu Design Tips To Boost Your Sales
Think about what you’re trying to convey and show only the relevant parts of the image. Because less is more.
7. Choose the right angle for the dish
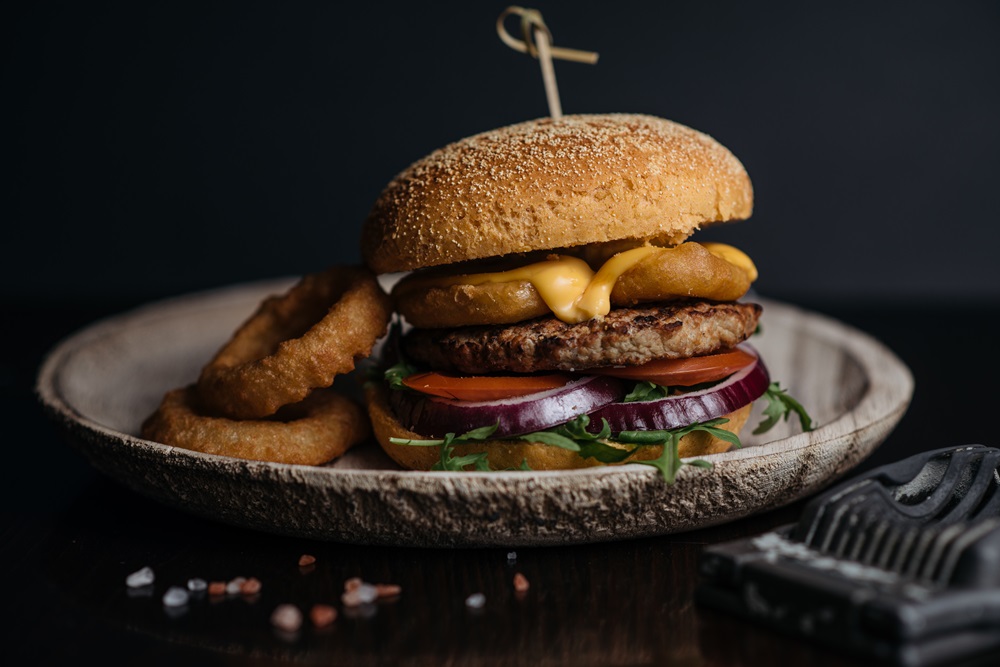
Restaurant menus photos don’t always have photos taken from above. That is because some foods look better from different angles. For example, a burger will look better photographed from the side because it will showcase how tall it is and all the ingredients within it.
Therefore, play around with 90-degree angle photos, 45-degree angle images, and flat-lays and decide at the editing stage which one looks best.
8. Use complementary colors
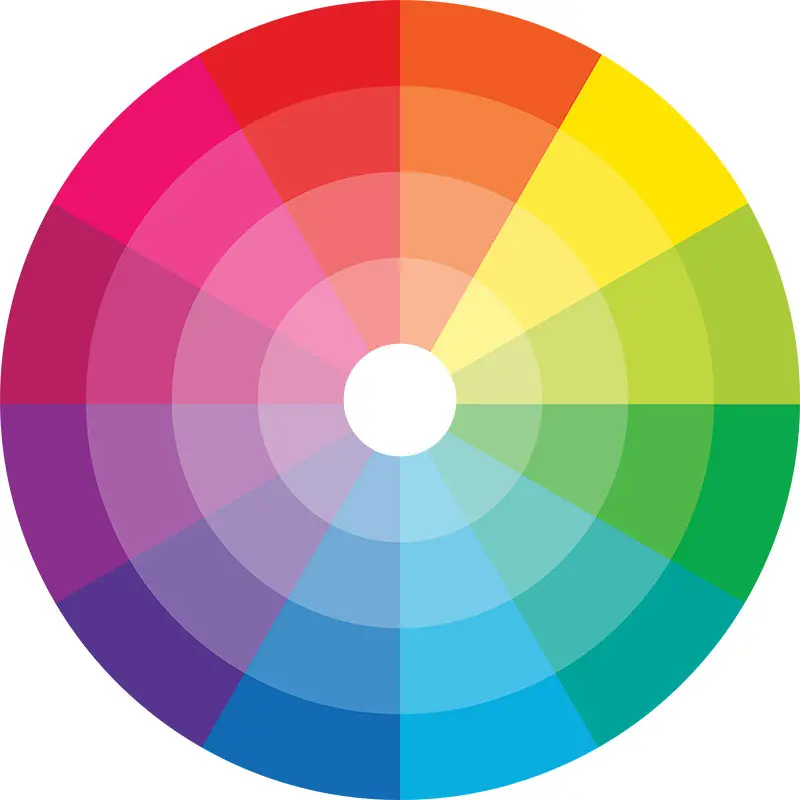
This is one of the tricks used by filmmakers to make movies so pleasing to look at. The good news you can also take advantage of this tip by using complementary colors for your dish, plating, styling, and background.
Here are the main color pairings:
- Red and green
- Blue and orange
- Yellow and purple
Just look at this color wheel and choose colors that are on the opposite sides.
Read more: How to Take Advantage of Restaurant Color Psychology
9. Don’t overcrowd the composition
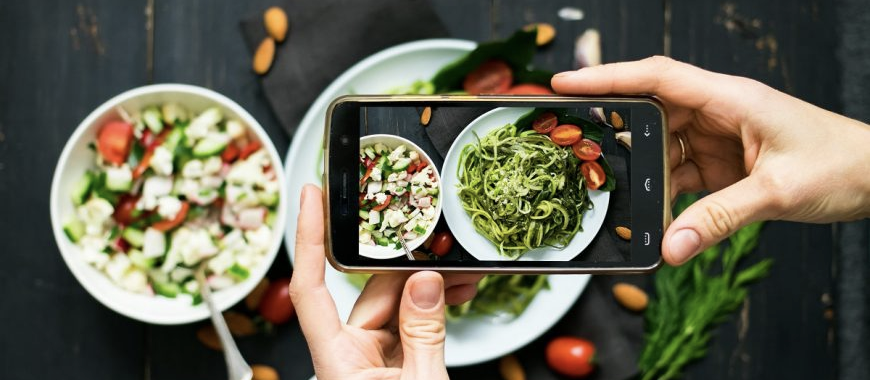
If you are looking for restaurant food photography tips for social media, having props is a good idea. So is adding movement and even a hand for the human element.
But, for restaurant menu images, you must focus only on the main dish and skip decorative elements that will distract viewers from it. At most, you can use the ingredients that went into the preparation to give clients a better idea of the taste they should expect.
10. Edit for consistency
One of the most important restaurant food photography tips, when you are creating imagery for the menu, is to keep it consistent. You don’t want one image to be very dark, while the others are more saturated.
To create an aesthetically pleasing restaurant menu, try these editing tips that you can implement in most free photo editing software:
- Increase saturation and vibrancy to make the colors pop out;
- Slightly increase contrast to make the dish stand out from the background;
- Fix the white balance to neutral if your camera picked it up wrong;
- Sharpen the images to emphasize the texture of the food.
Final words
The easiest way to impress your clients is by using these simple restaurant food photography tips to achieve some truly incredible pictures.
If you’d like to know more about camera angles, pro-level tips, styling, and staging, then you can read more amazing food photography tips here.
P.S. If you don’t want to shoot these restaurant menu pictures yourself, and you’re searching for a restaurant menu with pictures template, then it might be worth checking out the free-for-lifetime and already-done-for-you GloriaFood menu template, which will give you access to hundreds of mouth-watering and high-resolution food images that you can insert in your online menu.
